Windows Installer Error 2502 and 2503 when launching an MSI file in Windows 8 / Windows 7

Energized About PowerShell

If you encounter this error during an install it may be that the application in question is launching a child process which is NOT UAC elevated.

I ran into this today with the Microsoft Deployment Toolkit 2012 on my x64 machine.   This was surprising since I had installed it in my Demo environment on the weekend for a presentation.

But the environment in Question was a Domain Controller and my account was … *cough* … Administrator.

I thought my local copy was corrupt and had downloaded it again.   Same error on the install AND the uninstall.

Checking online I discovered others had encountered this error, when they had it referred to a permissions issue on C:\Windows\Installer.  Funny thing is other applications had installed and uninstalled without issue. 

But I’d seen this in the past where the MSI launches and somewhere in the process a child process launches.   If the child…

View original post 160 more words

Creating a Certificate Authority on Windows Server 2012

In this tutorial we will be setting up a Certificate Authority (CA) on a domain controller running Server 2012. In this lab the functional level of the domain and forest are set to 2012.

Install the CA Role

  1. Begin by logging into your server using a domain admin account.
  2. From  Server Manager dashboard click “Add roles and features
    Image
  3. Click NEXT
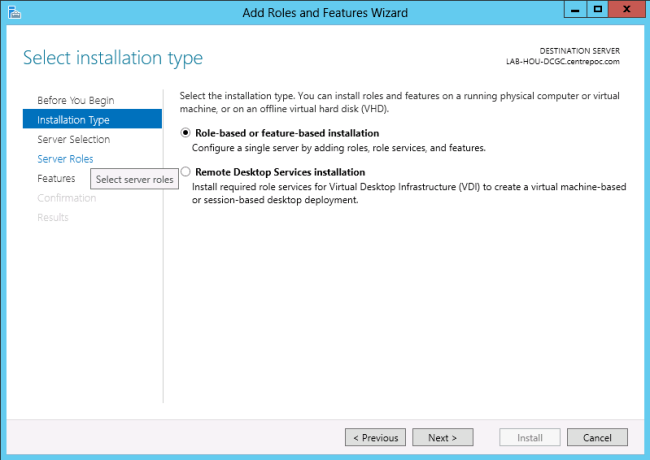
  4. At installation type, accept the default value and click NEXT.
    Image
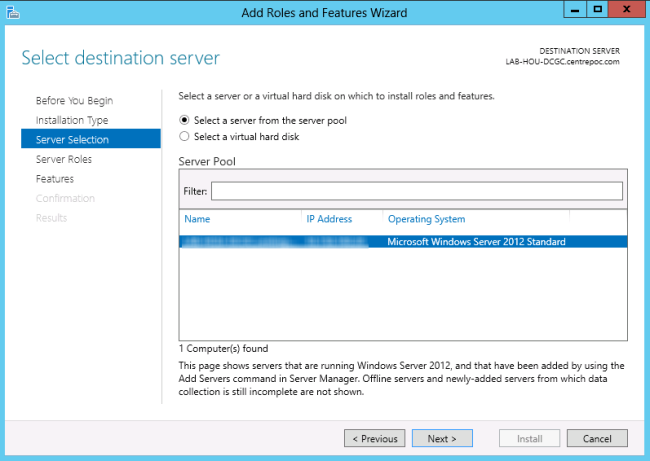
  5. At the server selection prompt accept the default and click NEXT.
    Image
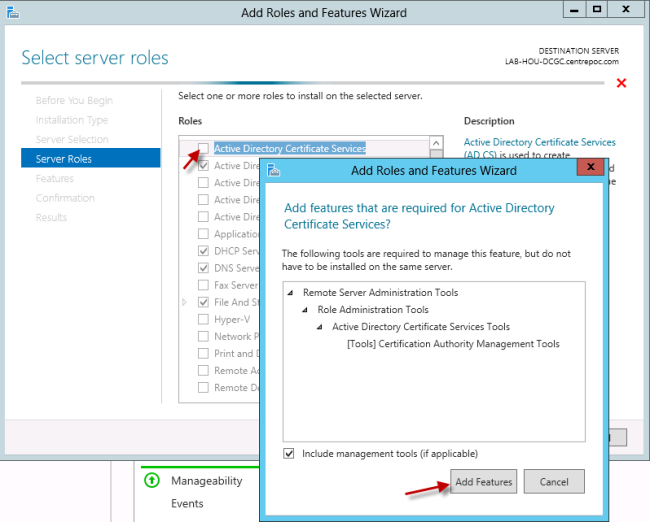
  6. At the server roles prompt, select Active Directory Certificate Services. You will then be prompted to install additional tools. At this prompt click Add Features. Then click NEXT.
    Image
  7. Click NEXT at the following prompt.
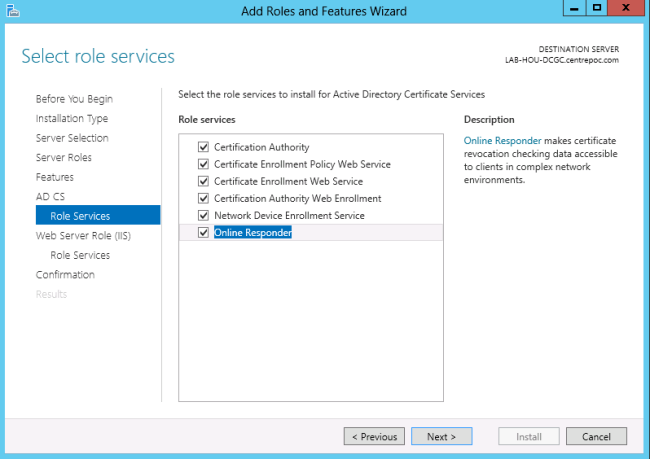
  8. At the role services prompt select the features you wish to install. You may be asked to install additional prerequisites. If so, click Add Features. In this lab I am installing all role services.
    Image
  9. Once you have selected your role services, click NEXT.
  10. Click NEXT  at the following two prompts.
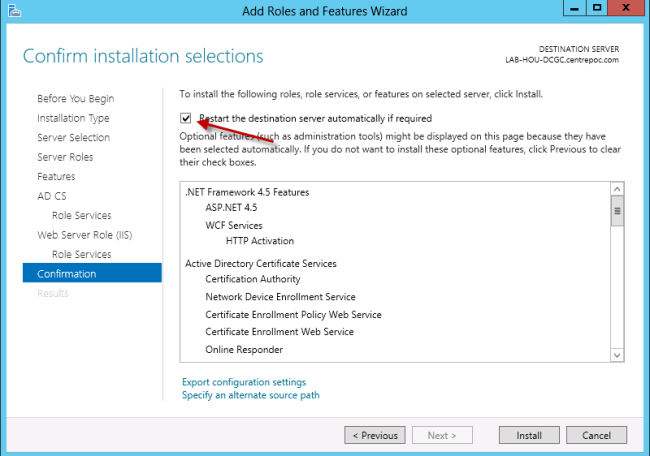
  11. Finally, at the last prompt check “Restart the destination server automatically if required” and then click Install.
    Image
  12. After the installation finished and your server has been restarted, you may configure the CA Authority.

Configuration

  1. After the installation is complete you will see a notification in server manager. Select the item labeled Post-Deployment Configuration.Image
  2. At the credentials prompt, click NEXT.
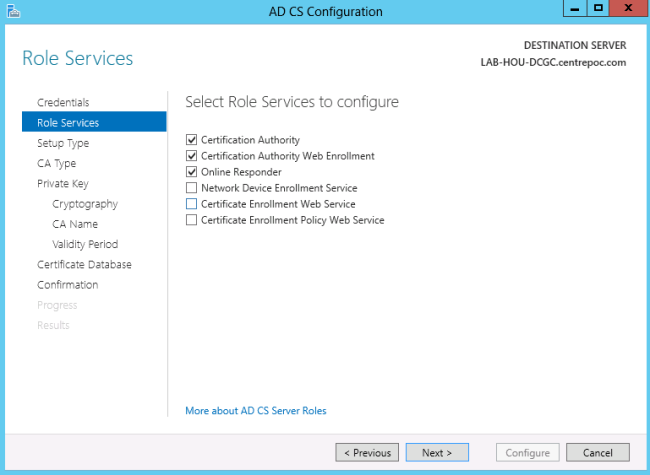
  3. At the Role services select the first three as shown below. After making your selections, click NEXT.
    Image
  4. Click NEXT at the setup type prompt.
  5. Click NEXT  at the CA Type prompt to accept the default of Root CA.
  6. Click NEXT  at the Private Key prompt to accept the default of Create new private key.
  7. Click NEXT  on the CA Name to accept the defaults. Otherwise input your desired common name.
  8. Define the length of your desired validity period. The default is 5 years. Click NEXT.
  9. Accept the defaults for the Certificate database values unless you have a specific reason to store them elsewhere. Click NEXT.
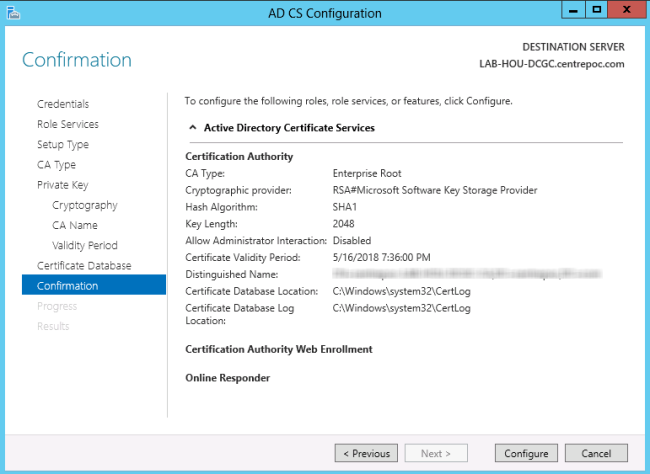
  10. Verify your configuration and click Configure.
    Image
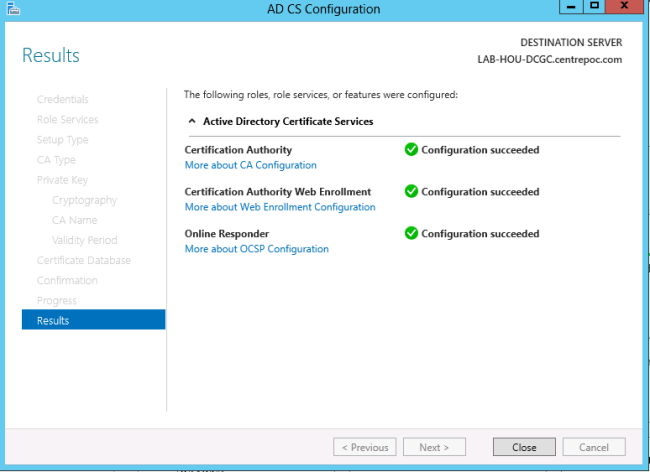
  11. After the configuration finishes, you should be presented with the following:
    Image
  12. In my case, I was prompted to install additional role services. I clicked NO.

If you would like to test your configuration, you may point your browser to http:\\nameofserver\certsrv

Obviously, you would want to replace “nameofserver” with your server’s name.

I hope this helps those new to Server 2012. Let me know if you run into any issues or if you have any recommended configuration changes.

Installing Exchange 2013

This first post is going to focus on the initial setup of Exchange 2013. It is will be a single server/multi-role installation on Server 2012.

Topics to be covered:

  1. Prepping AD and updating the Schema
  2. Installing Prerequisites on Server 2012
  3.  Installing Exchange

Assumptions:

  • You already have installed, updated and configured you 2012 server.
  • Forest Functional Level is at least 2003
  • Your GC within the site Exchange will be installed is at least 2003 SP2
  • You have a DC within the site Exchange will be installed that is at least 2008.
  • Your installation account will have Domain Admins, Enterprise Admins and Schema Admin permissions.

Prepping AD and updating the Schema

1. Install the ADDS feature on Server 2012 (You can ignore this if you want to prepare your domain from a DC). From an elevated PowerShell promt run the following:
Install-WindowsFeature RSAT-ADDS

2. Prepare your AD Forest by running setup from your installation media with the following arguments.Be sure to replace the sample organization name with your own.
.\setup /PrepareAD /OrganizationName: "Lab" /IAcceptExchangeServerLicenseTerms

For more info on preparing AD please refer here (http://technet.microsoft.com/en-us/library/bb691354(v=exchg.150).aspx#ADPrep).


Installing Prerequisites on Server 2012

  1. Run the following from an elevated PowerShell prompt:Install-WindowsFeature AS-HTTP-Activation, Desktop-Experience, NET-Framework-45-Features, RPC-over-HTTP-proxy, RSAT-Clustering, RSAT-Clustering-CmdInterface, Web-Mgmt-Console, WAS-Process-Model, Web-Asp-Net45, Web-Basic-Auth, Web-Client-Auth, Web-Digest-Auth, Web-Dir-Browsing, Web-Dyn-Compression, Web-Http-Errors, Web-Http-Logging, Web-Http-Redirect, Web-Http-Tracing, Web-ISAPI-Ext, Web-ISAPI-Filter, Web-Lgcy-Mgmt-Console, Web-Metabase, Web-Mgmt-Console, Web-Mgmt-Service, Web-Net-Ext45, Web-Request-Monitor, Web-Server, Web-Stat-Compression, Web-Static-Content, Web-Windows-Auth, Web-WMI, Windows-Identity-Foundation
  2. Restart Server
  3. Install the following software in the order shown.
    Unified Communications Managed API 4.0 Runtime
    Microsoft Office 2010 Filter Pack 64 bit
    Microsoft Office 2010 Filter Pack SP1 64 bit

Installing Exchange

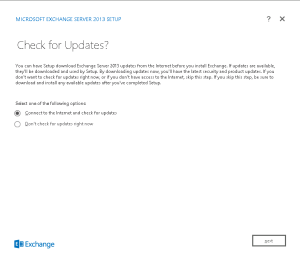
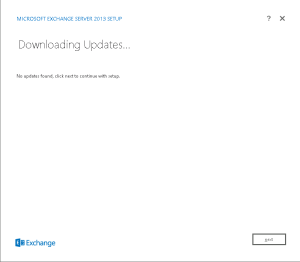
  1. Execute setup.exe from your Exchange install media. You will be prompted to check for updates. Even though at the time of this writing there were none, it’s best to try anyway.
    checkforupdatesdownloading
  2. Click NEXT to continue.
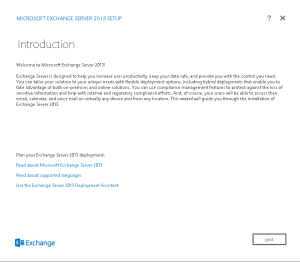
  3. After the setup files have been copied you will see the Introduction Message. You’ll find some useful links in this section of the install.intro
  4.  Click NEXT to continue.
  5. Accept the License Agreement. (If you wish to continue, that is.)
  6. Click NEXT to continue.
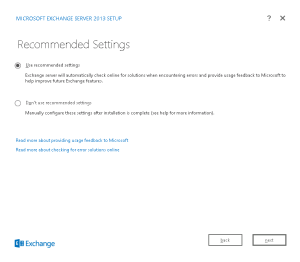
  7. The next page basically asks if you’d like to use error reporting. Select your option and click NEXT to continue.
    error
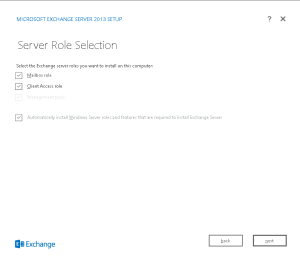
  8. Select your server roles. In our case we chose both Mailbox and Client Access.
    rolesection
  9. Click NEXT to continue.
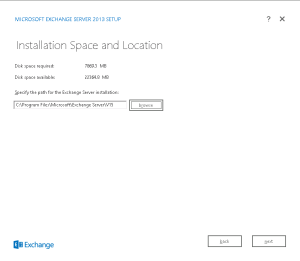
  10. Specify your install location. The default settings should work just fine. Click NEXT to continue.
    installlocation
  11. Click NEXT to continue.
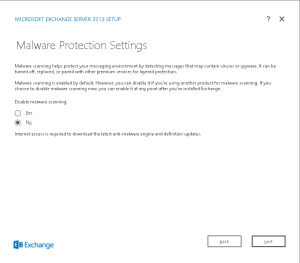
  12. Select whether or not you would like malware scanning. This option is available because we are installing the mailbox server role. It might also be worth noting that this can be enabled later if you’re unsure.
    malware
  13. Click NEXT to continue.
  14. The installation will then begin to check the prerequisites and verify that Exchange is ready to be installed.
  15. Once the installation verifies your system the install will begin.
  16. When the install is done. Click Finish.